It is very easy to shock a plant and stall its progress when you transplant autoflower into a bigger container.
Experienced growers would tell you to avoid autoflower repotting altogether. It means that you plant your seed or sprout straight into the final pot. Otherwise, you may run into two kinds of trouble.
First of all, the final size of your plant may get restricted by a too small pot size because autoflowers tend to start budding as soon as they are root-bound.
Second, repotting autoflowers is a risky procedure. The plant’s delicate root system can be so shocked, that it would stop developing for several days, maybe even until the flowering stage begins. And, as you may well imagine, you’ll have a very diminutive plant with weak side growth at harvest. And the yields wouldn’t be worth the wait.
Still, sometimes, you simply can’t do without a transplant. The obvious example is when you grow your autos outdoors, but start them indoors. This is a common practice because you shouldn’t expose very young seedlings to harsh weather. It’s best to give them two weeks or so of optimal conditions indoors and only then put them outside.
And here is a very simple method that I use and find very satisfactory.
Transplant Autoflower the Easy Way
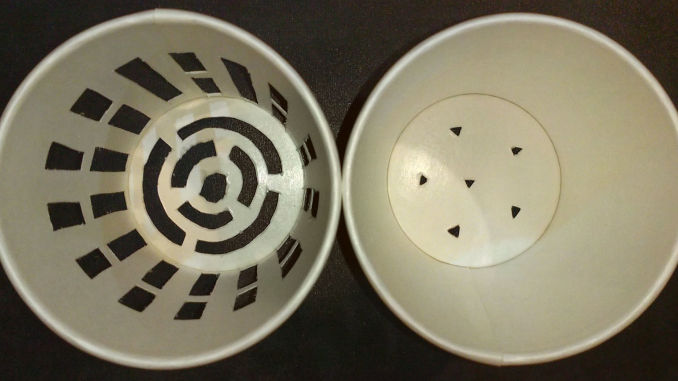
Let’s take two party cups to put one inside the other. One of them we leave intact except that we make a couple of small drainage holes in the bottom. As for the other one, let’s cut a lot of slits in the bottom and the sides. After the transplant, the roots will grow outwards through these slits.
To do this, all we need is a sharp knife and 20 minutes of patience (for every pair of cups).
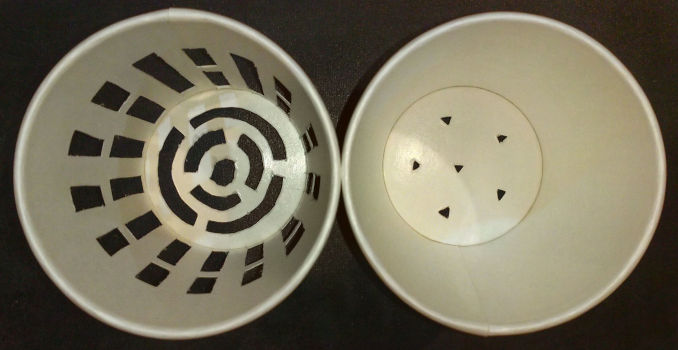
Those who know what DWC is will see that the result resembles those net pots that hydro growers fill with clay pebbles or rockwool and put seedlings in them. The net pots also allow roots to freely grow through the bottom and the sides and into the bucket with the solution.
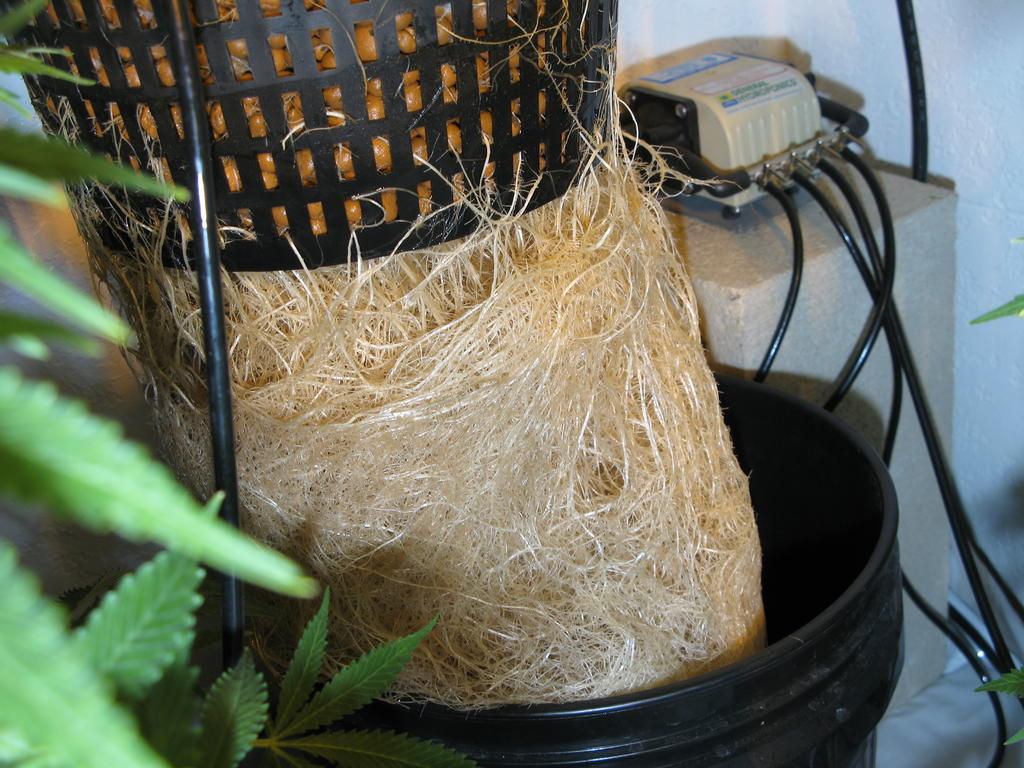
For this experiment, I used 300 ml (10 oz) party cups, but a smaller one would probably be enough, too.
Our goal is to keep our autoflower seedlings in solo cups for two weeks, that is till the moment when a very rapid vegetative growth begins.
Let’s have a look at the roots when our seedling is already big and sturdy. You simply slide one cup out of the other. As you can see, the roots are sticking out the bottom and the sides.
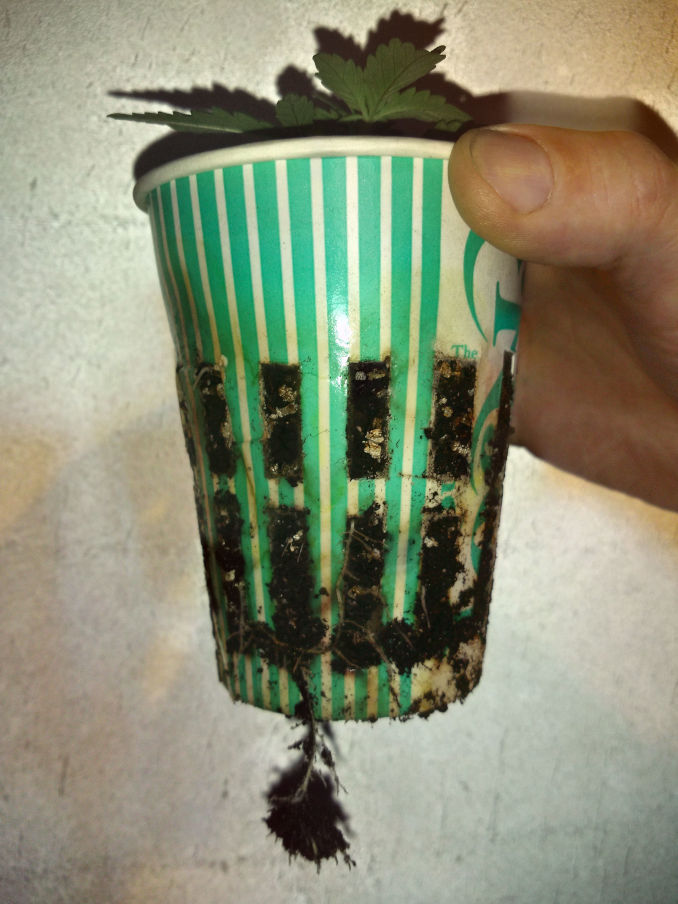
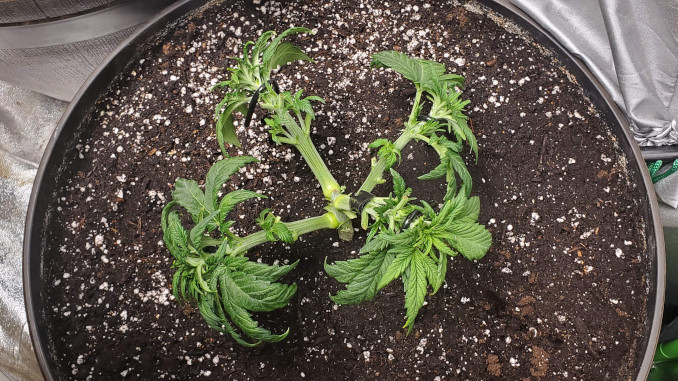
I’m talking about transplanting autoflower strains outside, but in this experiment of mine I actually repotted my auto into a bucket with soil to be grown under artificial lights. Doesn’t really matter because the procedure is exactly the same. Just make a hole in the ground the size of the cup and stick it there.
The Best Time of Day for Repotting Autoflowers
In the past, I used to wonder when to transplant autoflower seedlings. I mean the best time of day for it. Now I do all my repottings before ‘nightfall’. This way, the plant and its root structure will have several hours to get used to their new surroundings before the sun goes up (or the lights turn on). Daytime, with photosynthesis and perspiration and all, is a much more stressful time for a plant.
Transplant Autoflower Results
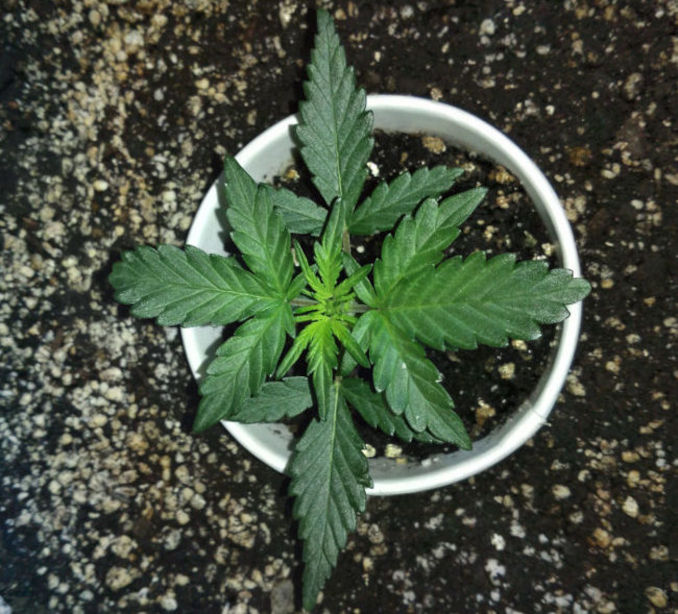
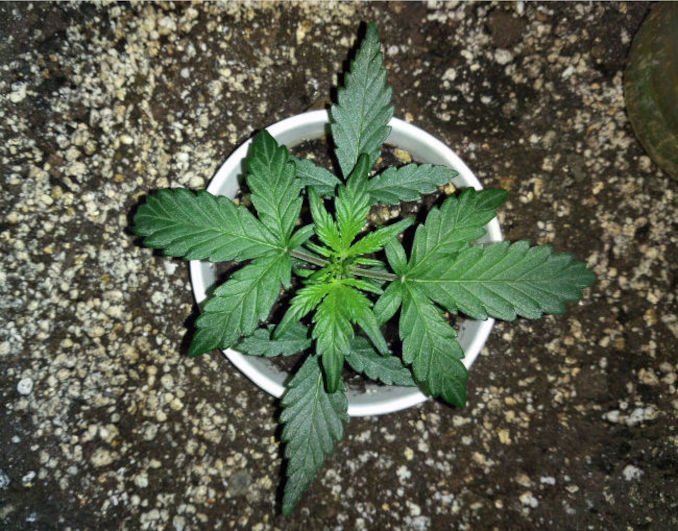
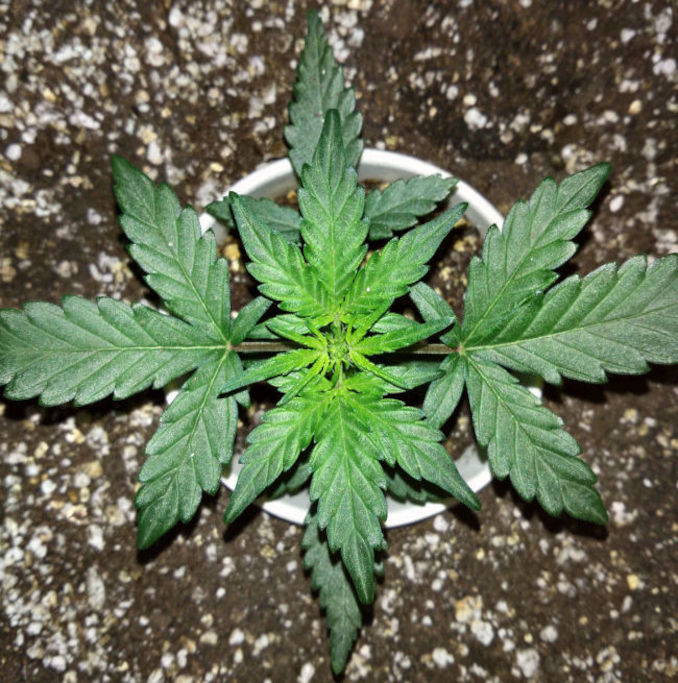
So I was watching my repotted plant closely, and was happy to see that it never looked ‘tired’ and didn’t stop growing for a single day. In the photo gallery below, you can see daily snapshots of my auto both just before and after the transplant:
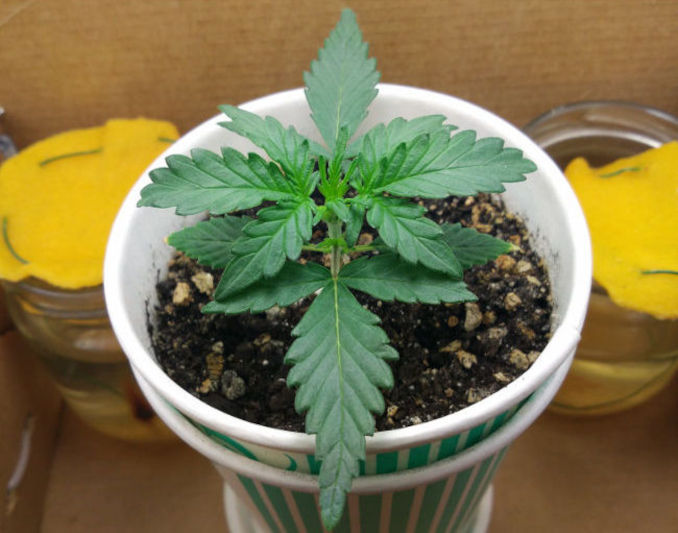
————- THIS IS WHEN I DID THE TRANSPLANT ————-
So Can You Transplant Autoflowering Plants?
You can definitely transplant autoflower plants if a situaltion calls for it, but please be extra careful and make sure that the roots experience the least amount of shock. And our method of using a solo cup with slits cut in it is clearly a simple and effective way of achieving that.

Comments